
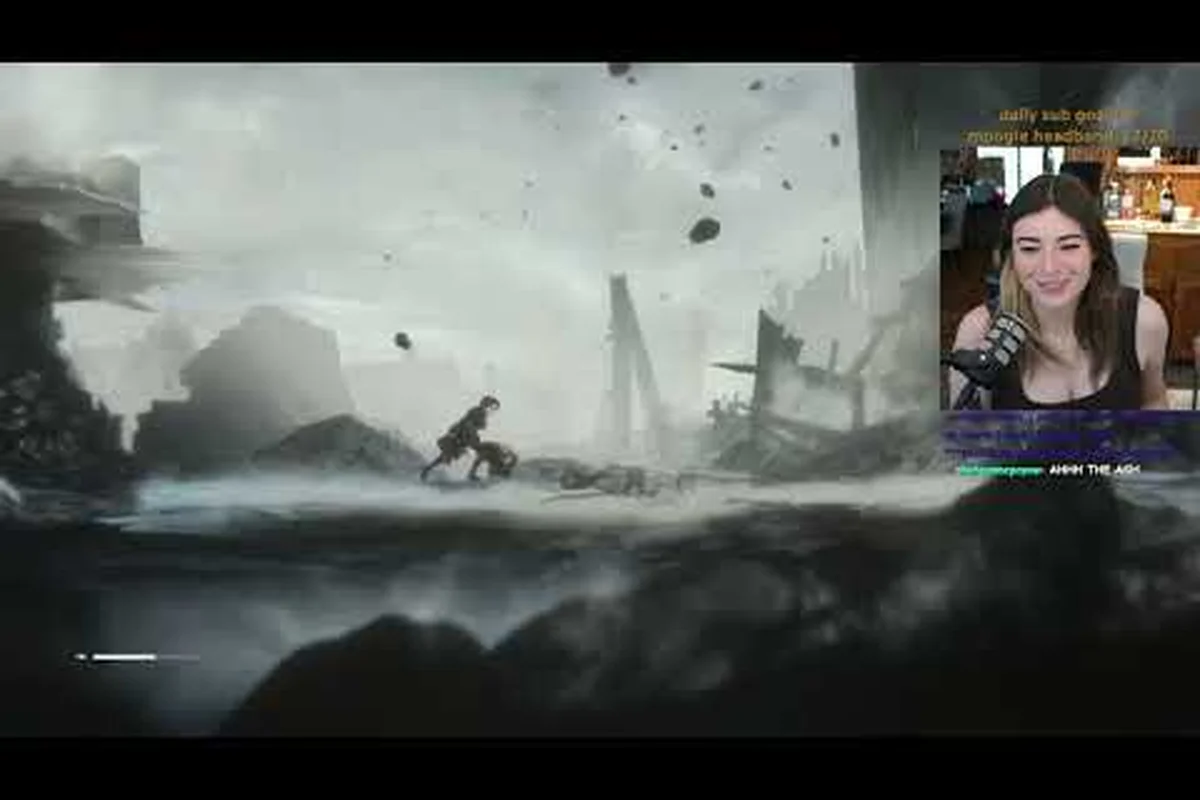
The vapor world over the mind walkthrough you are about to read covers every step from the opening dream sequence to the final moments of Episode 1, so you never hit a wall wondering where to go next. This narrative-driven 2D souls-like platformer demands precise deflection timing and careful exploration, and knowing the path ahead saves you from repeated deaths against the same Projection. Get ready to master the Crack Break mechanic, extract Embers efficiently, and understand the story beats that shape Paslow's nightmare.
Vapor World Over The Mind Walkthrough: Prologue Objectives
The Prologue serves as both a tutorial and the emotional foundation for the entire story, introducing you to Paslow as he is pulled into a twisted dream with no way out. According to the official Vapor World: Over The Mind website, the world is born of anguish and regret, and every visual detail reinforces that tone from the first screen. Your primary goal here is to learn the deflection combat system while navigating a linear sequence of hand-painted dream layers that teach you the basics without overwhelming you.
The First Projection Encounter
Your first fight happens within the first few minutes, and it is deliberately simple so you can grasp the core loop. The enemy telegraphs its attack with a clear wind-up animation, and your job is to press the deflect button just before the strike lands. A successful deflect triggers a Crack Break, which leaves the Projection defenseless for a short window, allowing you to extract its Ember with the power of the Id.
-
Deflect timing window: roughly 0.3 seconds before impact
-
Crack Break duration: approximately 3 seconds of vulnerability
-
Ember extraction: hold the interact button for 1.5 seconds
-
Health recovery: extracting Embers restores a small amount of HP
The Prologue also introduces the stealth sections, where you can avoid fights entirely by staying out of the Projections' line of sight. Community reports suggest that stealth is not mandatory in the Prologue, but practicing it here pays off later because Episode 1 features several areas where direct combat is heavily penalized. Take your time to learn enemy patrol routes, because the game rewards patience and observation over aggression.
Navigating the Dream Layers
The Prologue is structured as a series of interconnected dream layers, each representing a fragment of Paslow's shattered mind. You will encounter environmental puzzles that require you to manipulate glowing mechanisms, and these are always telegraphed by visual cues in the environment. The game does not hold your hand with waypoint markers, so pay attention to the direction the camera pans and the placement of light sources, which typically indicate the correct path forward.
| Prologue Area | Key Objective | Notable Enemy | Difficulty |
|---|---|---|---|
| The Awakening | Learn movement and basic deflection | None | Tutorial |
| The First Corridor | First Projection fight | Wandering Shade | Easy |
| The Memory Garden | Stealth tutorial and Ember extraction | Patrol Wraith | Easy |
| The Collapsing Bridge | Timed platforming sequence | None | Moderate |
| The Threshold | Prologue boss encounter | The Hollow Reflection | Moderate |
The Prologue culminates in a boss fight against The Hollow Reflection, which tests everything you have learned so far. This boss mirrors your attack patterns, so you must deflect its strikes and punish the Crack Break windows rather than playing aggressively. Players who struggle here often find that they are deflecting too early, so wait for the white flash on the boss's weapon before pressing the button. For a deeper breakdown of this encounter and its hidden secrets, check our Prologue Boss Guide & Secrets which covers attack patterns and optional rewards in detail.
Episode 1: Consequence of The Choice Full Walkthrough
Episode 1, titled Consequence of The Choice, expands the world significantly and introduces the game's central narrative conflict. The Early Access release on August 18, 2026 includes the Prologue plus two episodes totaling about five hours of content, with Episode 1 being fully playable from start to finish. This section of the vapor world over the mind full walkthrough covers every major area in order, so you always know what objective to pursue next.
The Weeping Station
The episode opens in a rain-soaked train station that serves as a hub between dream layers. Here you will meet the first NPC who provides context about the world and hints at the choice that defines the episode's title. The station has a save point, a merchant who trades Embers for upgrades, and a locked door that requires a key item found later in the episode.
-
Merchant inventory: health vials, stamina charms, and a new deflection skill
-
Save point location: directly next to the station entrance
-
Locked door: requires the Station Master's Key from the Clock Tower
-
Hidden path: behind the ticket booth, leads to a memory fragment
The station also introduces the memory fragment collectible system, which is tied to the story walkthrough experience. Finding all memory fragments in an area unlocks a lore entry that fills in Paslow's backstory, and these are often tucked behind breakable walls or in areas that require backtracking after acquiring new abilities. The vapor world over the mind story walkthrough becomes much richer when you collect these fragments, because they contextualize why the dream world is the way it is.
The Clock Tower Ascent
The Clock Tower is the first major gauntlet of Episode 1, combining platforming challenges with combat encounters against new Projection types. The tower has four distinct floors, each with a different environmental theme and enemy composition. You will need to use the Wall Dash ability, which you acquire at the start of this area, to reach higher platforms and bypass locked gates.
| Tower Floor | Enemy Types | Environmental Hazard | Required Ability |
|---|---|---|---|
| Ground Floor | Wandering Shades | None | None |
| Second Floor | Clockwork Sentinels | Spinning gears | Wall Dash |
| Third Floor | Time-Stealing Wraiths | Moving platforms | Wall Dash + Deflect |
| Clock Face | The Timekeeper (mini-boss) | Falling debris | All abilities |
The Timekeeper mini-boss at the top of the tower is a significant difficulty spike, and many players report dying here multiple times on their first playthrough. This enemy teleports around the arena and attacks with delayed strikes that require you to deflect on reaction rather than prediction. The key is to stay mobile between its attacks, because standing still makes you an easy target for its projectile barrage. After defeating it, you receive the Station Master's Key, which unlocks the previously inaccessible door in the Weeping Station.
The Sunken Ward
Returning to the Weeping Station with the key opens the path to the Sunken Ward, a flooded hospital wing that represents the darkest narrative moment of Episode 1. The atmosphere shifts dramatically here, with water physics affecting your movement speed and visibility. Enemies in this area are more aggressive, and the game introduces the Drowning Mechanic, where staying submerged for too long drains your health.
The Sunken Ward is where the episode's central choice becomes clear, as you discover documents that reveal what happened to the people who once inhabited this dream. The narrative payoff is significant, and this area is where most players become fully invested in the story. If you want to understand the deeper implications of what you find here, our Story Explained & Ending guide breaks down the lore connections and foreshadowing throughout the episode.
The Choice and Its Consequences
The climax of Episode 1 presents you with a binary choice that affects the final sequence and sets up Episode 2. Without spoiling the specifics, the choice involves whether to help a particular NPC or pursue a different objective, and the game does not tell you which option is "correct." Community testing suggests that both choices lead to the same final boss, but the dialogue, available items, and the opening of Episode 2 change based on your decision.
| Choice Option | Immediate Effect | Episode 2 Impact | Recommended For |
|---|---|---|---|
| Help the NPC | Unlocks a side area with extra loot | Different opening dialogue | Completionists |
| Pursue the Objective | Skips the side area, faster progression | Different starting equipment | Speedrunners |
The final boss of Episode 1, The Weight of Memory, is the toughest encounter in the current build and requires mastery of every mechanic introduced so far. This boss has three phases, each with unique attack patterns and a faster tempo than the previous phase. Phase one is a standard deflection duel, phase two introduces summoned minions that you must clear quickly, and phase three removes the floor in sections, forcing you to manage positioning while deflecting. Players recommend bringing at least five health vials and the stamina charm from the merchant, because the fight can last several minutes even with optimal play.
Essential Combat Mechanics for the Full Walkthrough
Understanding the combat system deeply is what separates a smooth playthrough from one filled with repeated deaths. The deflection mechanic is the heart of the game, inspired by Sekiro's parry system and the weighty fights of Bloodborne, as noted on the official Steam page. Every enemy in the game, from basic Projections to bosses, can be defeated more efficiently through deflection than through dodging and attacking.
Deflection Timing and Crack Break
The Crack Break is the game's central combat reward, triggered by deflecting an enemy attack at the precise moment of impact. When triggered, the enemy becomes vulnerable and glows with a visible crack pattern, indicating you can extract its Ember. The extraction animation takes 1.5 seconds and cannot be interrupted, so you must ensure no other enemies are nearby before committing to it.
-
Perfect deflect: triggers Crack Break and deals minor damage to the enemy
-
Early deflect: blocks the attack but does not trigger Crack Break
-
Late deflect: results in a partial block with reduced damage taken
-
Missed deflect: full damage taken and a brief stagger on your character
The timing window is generous compared to similar games, but the penalty for missing is severe because enemies recover quickly and often chain attacks. Practice on the early Projections in the Prologue until you can consistently trigger Crack Breaks, because later enemies have delayed attacks specifically designed to punish players who deflect on instinct rather than observation.
Ember Management and Upgrades
Embers are the primary currency and upgrade resource, extracted from defeated Projections and found in the environment. The merchant in the Weeping Station offers several upgrades that meaningfully change your combat effectiveness, and prioritizing the right ones makes the full walkthrough significantly easier.
| Upgrade | Ember Cost | Effect | Priority |
|---|---|---|---|
| Health Vial Capacity +1 | 50 Embers | Carry an extra healing item | High |
| Stamina Regeneration | 75 Embers | Faster stamina recovery after sprinting | Medium |
| Deflection Window +10% | 100 Embers | Slightly more forgiving deflect timing | High |
| Ember Extraction Speed | 60 Embers | Reduces extraction time to 1.2 seconds | Medium |
| Wall Dash Distance | 40 Embers | Longer dashes for platforming sections | Low |
The Deflection Window upgrade is widely considered the best early purchase because it makes the core mechanic more forgiving, which helps you learn boss patterns without dying repeatedly. The Health Vial Capacity upgrade is equally valuable for survivability, especially before the Clock Tower mini-boss. Save your Embers for these two upgrades first, then invest in the others once you are comfortable with the combat system.
Exploration Tips and Hidden Content
The vapor world over the mind walkthrough is not just about progressing the main path, because the game hides meaningful content in optional areas and behind environmental puzzles. Exploring thoroughly rewards you with memory fragments, upgrade materials, and occasionally entirely optional boss fights that provide significant Ember payouts.
Memory Fragment Locations
Memory fragments are the game's primary collectible, and each area contains a specific number that you can track in the pause menu. Finding all fragments in an area unlocks a lore entry, and collecting a certain total across the game unlocks a secret ending-related item. The fragments are always hidden in locations that require either careful observation or backtracking with new abilities.
-
Weeping Station: 3 fragments, one behind the ticket booth and two in locked rooms
-
Clock Tower: 4 fragments, one on each floor in hard-to-reach corners
-
Sunken Ward: 5 fragments, several requiring the Wall Dash to reach
-
Final Area: 2 fragments, both in optional side rooms before the boss
The fragment in the Clock Tower's third floor is particularly tricky because it requires you to deflect an enemy's projectile to activate a hidden platform. This mechanic is not explained anywhere in the game, and community reports indicate that most players miss this fragment on their first playthrough. If you are aiming for full completion, our Chapter Guide: Dream & Nightmare provides a comprehensive breakdown of every hidden path and collectible location.
Optional Boss Encounters
Episode 1 contains two optional bosses that are not required for story progression but offer substantial rewards. The first, The Forgotten Nurse, is found in a flooded side room in the Sunken Ward, accessible only after you have the Wall Dash ability. This boss fights similarly to the Timekeeper but with a poison mechanic that requires you to manage your positioning carefully.
The second optional boss, The Architect's Regret, is hidden behind a breakable wall in the Clock Tower's ground floor. This encounter is significantly harder than the main story bosses, and it is recommended that you complete the main path first before attempting it. Defeating this boss grants a unique charm that increases Ember extraction speed by 50%, which is invaluable for farming upgrades in subsequent playthroughs.
Frequently Asked Questions
How long does it take to complete the vapor world over the mind walkthrough?
The Early Access build includes the Prologue and Episode 1, totaling roughly five hours of content according to the official Steam page. A focused playthrough focusing only on the main path takes about three to four hours, while completionists who find every memory fragment and defeat both optional bosses will spend closer to six hours.
What is the best strategy for the Prologue boss, The Hollow Reflection?
The Hollow Reflection mirrors your attack patterns, so the key is to stay defensive and wait for its telegraphed strikes. Deflect its three-hit combo to trigger a Crack Break, then extract the Ember and back away. Avoid attacking aggressively because the boss punishes greedy players with a counter that cannot be deflected.
Can I skip the stealth sections in Episode 1?
Stealth is optional in the Prologue but becomes increasingly important in Episode 1's Sunken Ward. While you can fight through most areas, the Sunken Ward features a section where enemies respawn infinitely until you complete a stealth objective. Players who attempt to fight through this section report spending significantly more time and resources than those who use stealth.
Are there multiple endings in the current Early Access build?
The current build has one ending for Episode 1, but the choice you make at the climax affects the opening of Episode 2 and the equipment you start with. The developers have confirmed that the full release will feature multiple endings based on choices made across all episodes, so your decisions in Episode 1 will carry forward.
What should I buy first from the merchant in the Weeping Station?
Buy the Deflection Window upgrade first—it widens the parry timing for Crack Break triggers, making boss fights in Episode 1 far more forgiving. Prioritize Health Vial Capacity second to survive extended Projection encounters. Delay Ember-cost upgrades until both are secured, as survivability outpaces damage early.